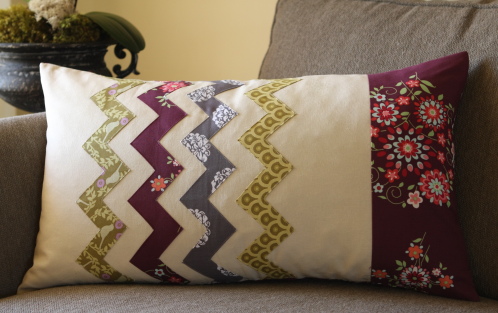
I created this zig zag pillow tutorial for a guest post on Ucreate a while back, but I wanted to share it here as well.
Not long ago, I was strolling through Anthropologie online and noticed a wonderful zig zag pillow that really got my wheels turning. The zig zags were so fresh: geometric and yet meandering. I knew I could make something similar that would be a great fit to my home… and much cheaper than the $68 Anthropologie price tag. My version of their pillow is softer and less modern… and I love how it turned out. I especially love the technique I figured out for making the zig zags. It would be easy to adapt this tutorial to embellish a skirt, dish towel, or table runner.
Let’s get started:
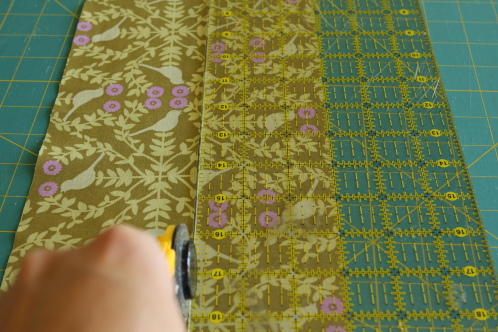 To make your zig zags, cut your decorative fabrics 3″ wide by how ever long you want your zig zag. I made my zig zags about 5″ longer than the pillow so I could have some wiggle room when laying them out.
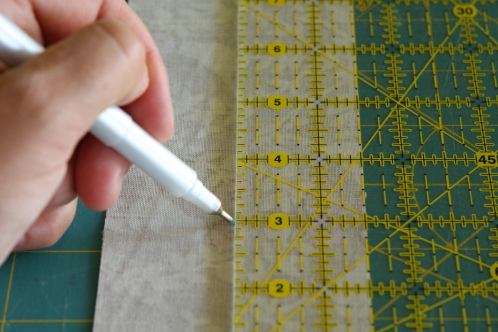 Turn your strip of fabric to the wrong side and using a ruler and a Mark-B-Gone Pen mark a small dot directly in the center (1-1/2″ in from either side) every 1-1/2″ the entire length of the strip.
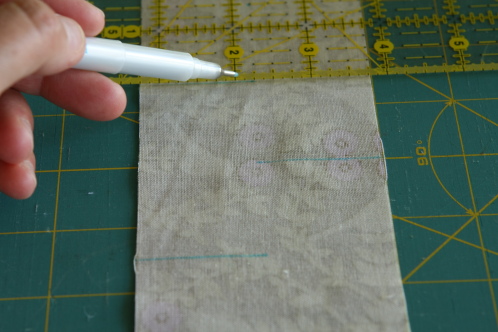 Square the ruler and draw a line from the left to center, then the right to center, alternating every other marked dot the length of the strip.
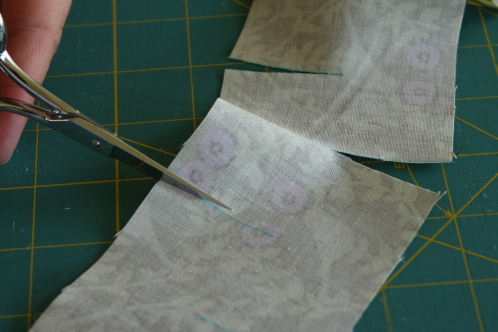 Next cut each marked line. Be sure to stop exactly at the dot. (A good pair of scissors is much appreciated here!)
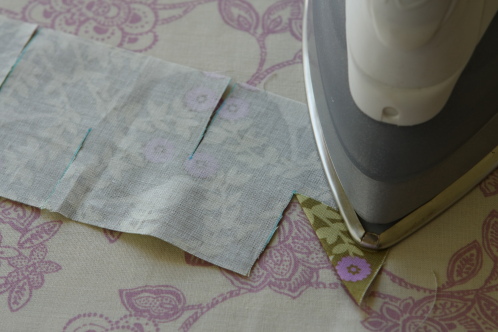 Using a very hot iron with the steam turned off (ask me how I know to turn off the steam… ouch!), fold the first triangle back to the outside edge and press.
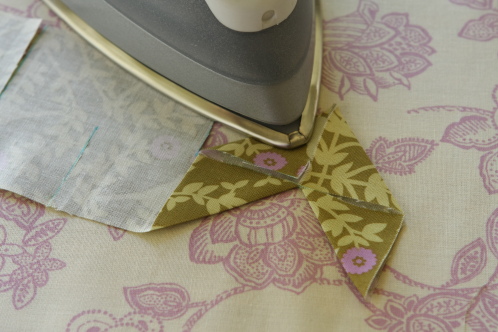 Press triangles as shown in the photo.
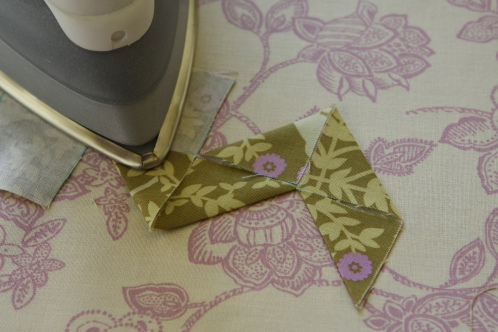 Continue pressing all the way down the strip as shown.
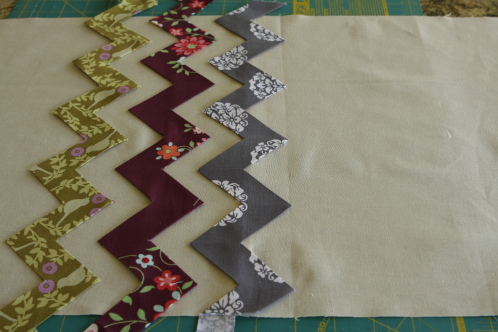
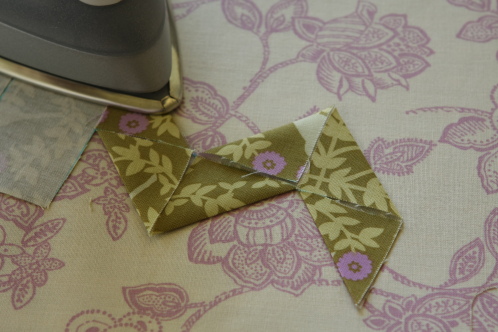
Be sure to make each point as neat as possible. And once you’re happy with the points, I recommend a little spray starch to keep things in order. On the right side, they will look like this. Space them evenly on your pillow top, and pin them into place.
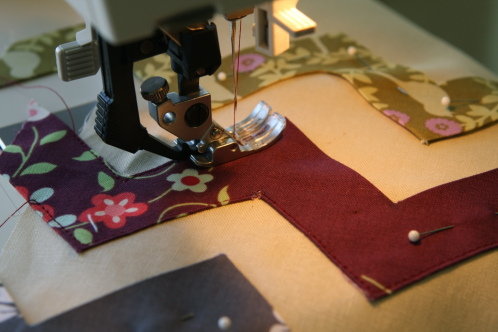
And stitch into place. I used a straight stitch down each side. I also did a little bit of fussy thread matching on my burgundy fabric. It was just too dark to use a chameleon thread like I usually try to get away with. Once stitched, trim any overhang of zigzag fabric even with the top.
If you are piecing your top, like I did, just be sure the finished dimensions are the same as the pillow form. In my case, my cream linen fabric measured 16″ x 21-1/2″ and my burgundy fabric (Amy Butler’s Love Memento) measured 16″ x 5-1/2″. Once they were pieced together with 1/2″ seam, it measures 16″x 26″ exactly.
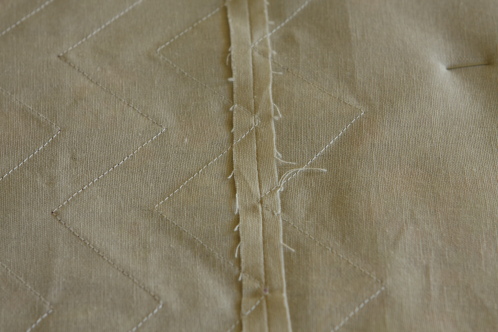
Just so you know that nobody’s perfect (well at least I’m not) here is where I cut my fabric wrong. Actually my design changed along the way… and my linen fabric was cut all wrong. My dirty little secret is, I pieced my linen fabric back together, and placed a zig zag right over the seam. Make it Do and nobody is the wiser!
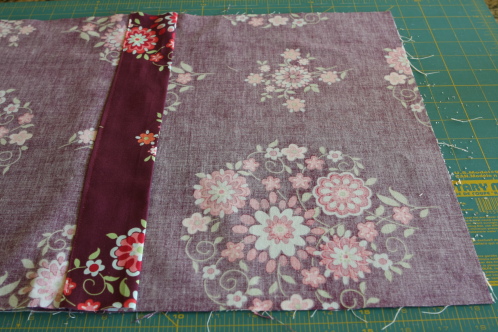
For the two back pieces of the pillow, turn a 1/2″ and then a 2″ hem and stitch. Lay them out right sides together with the top, so the back pieces overlap. Pin front and back pieces together.
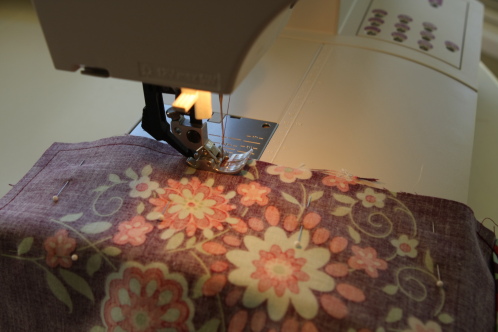
Stitch all the way around. I like to back stitch where the back pieces overlap.
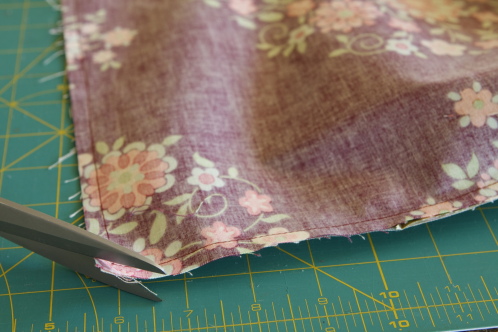
Clip the corners and turn right side out. I love to use a chopstick to make sure the edges are neat. Give it a good once over with the iron and stuff in your pillow form.
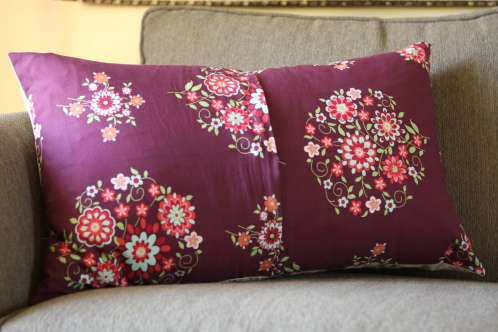
Here’s a peak at the back. I love the Amy Butler line.
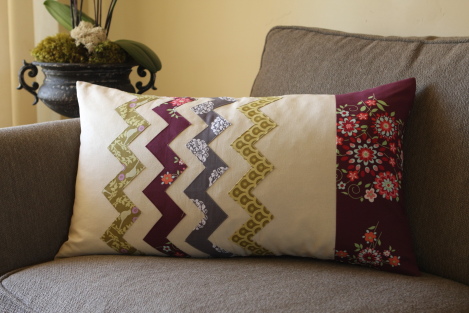
And here’s the finished pillow. I loved making the zig zags and my new pillow is a lovely addition to my living room.
Không có nhận xét nào:
Đăng nhận xét